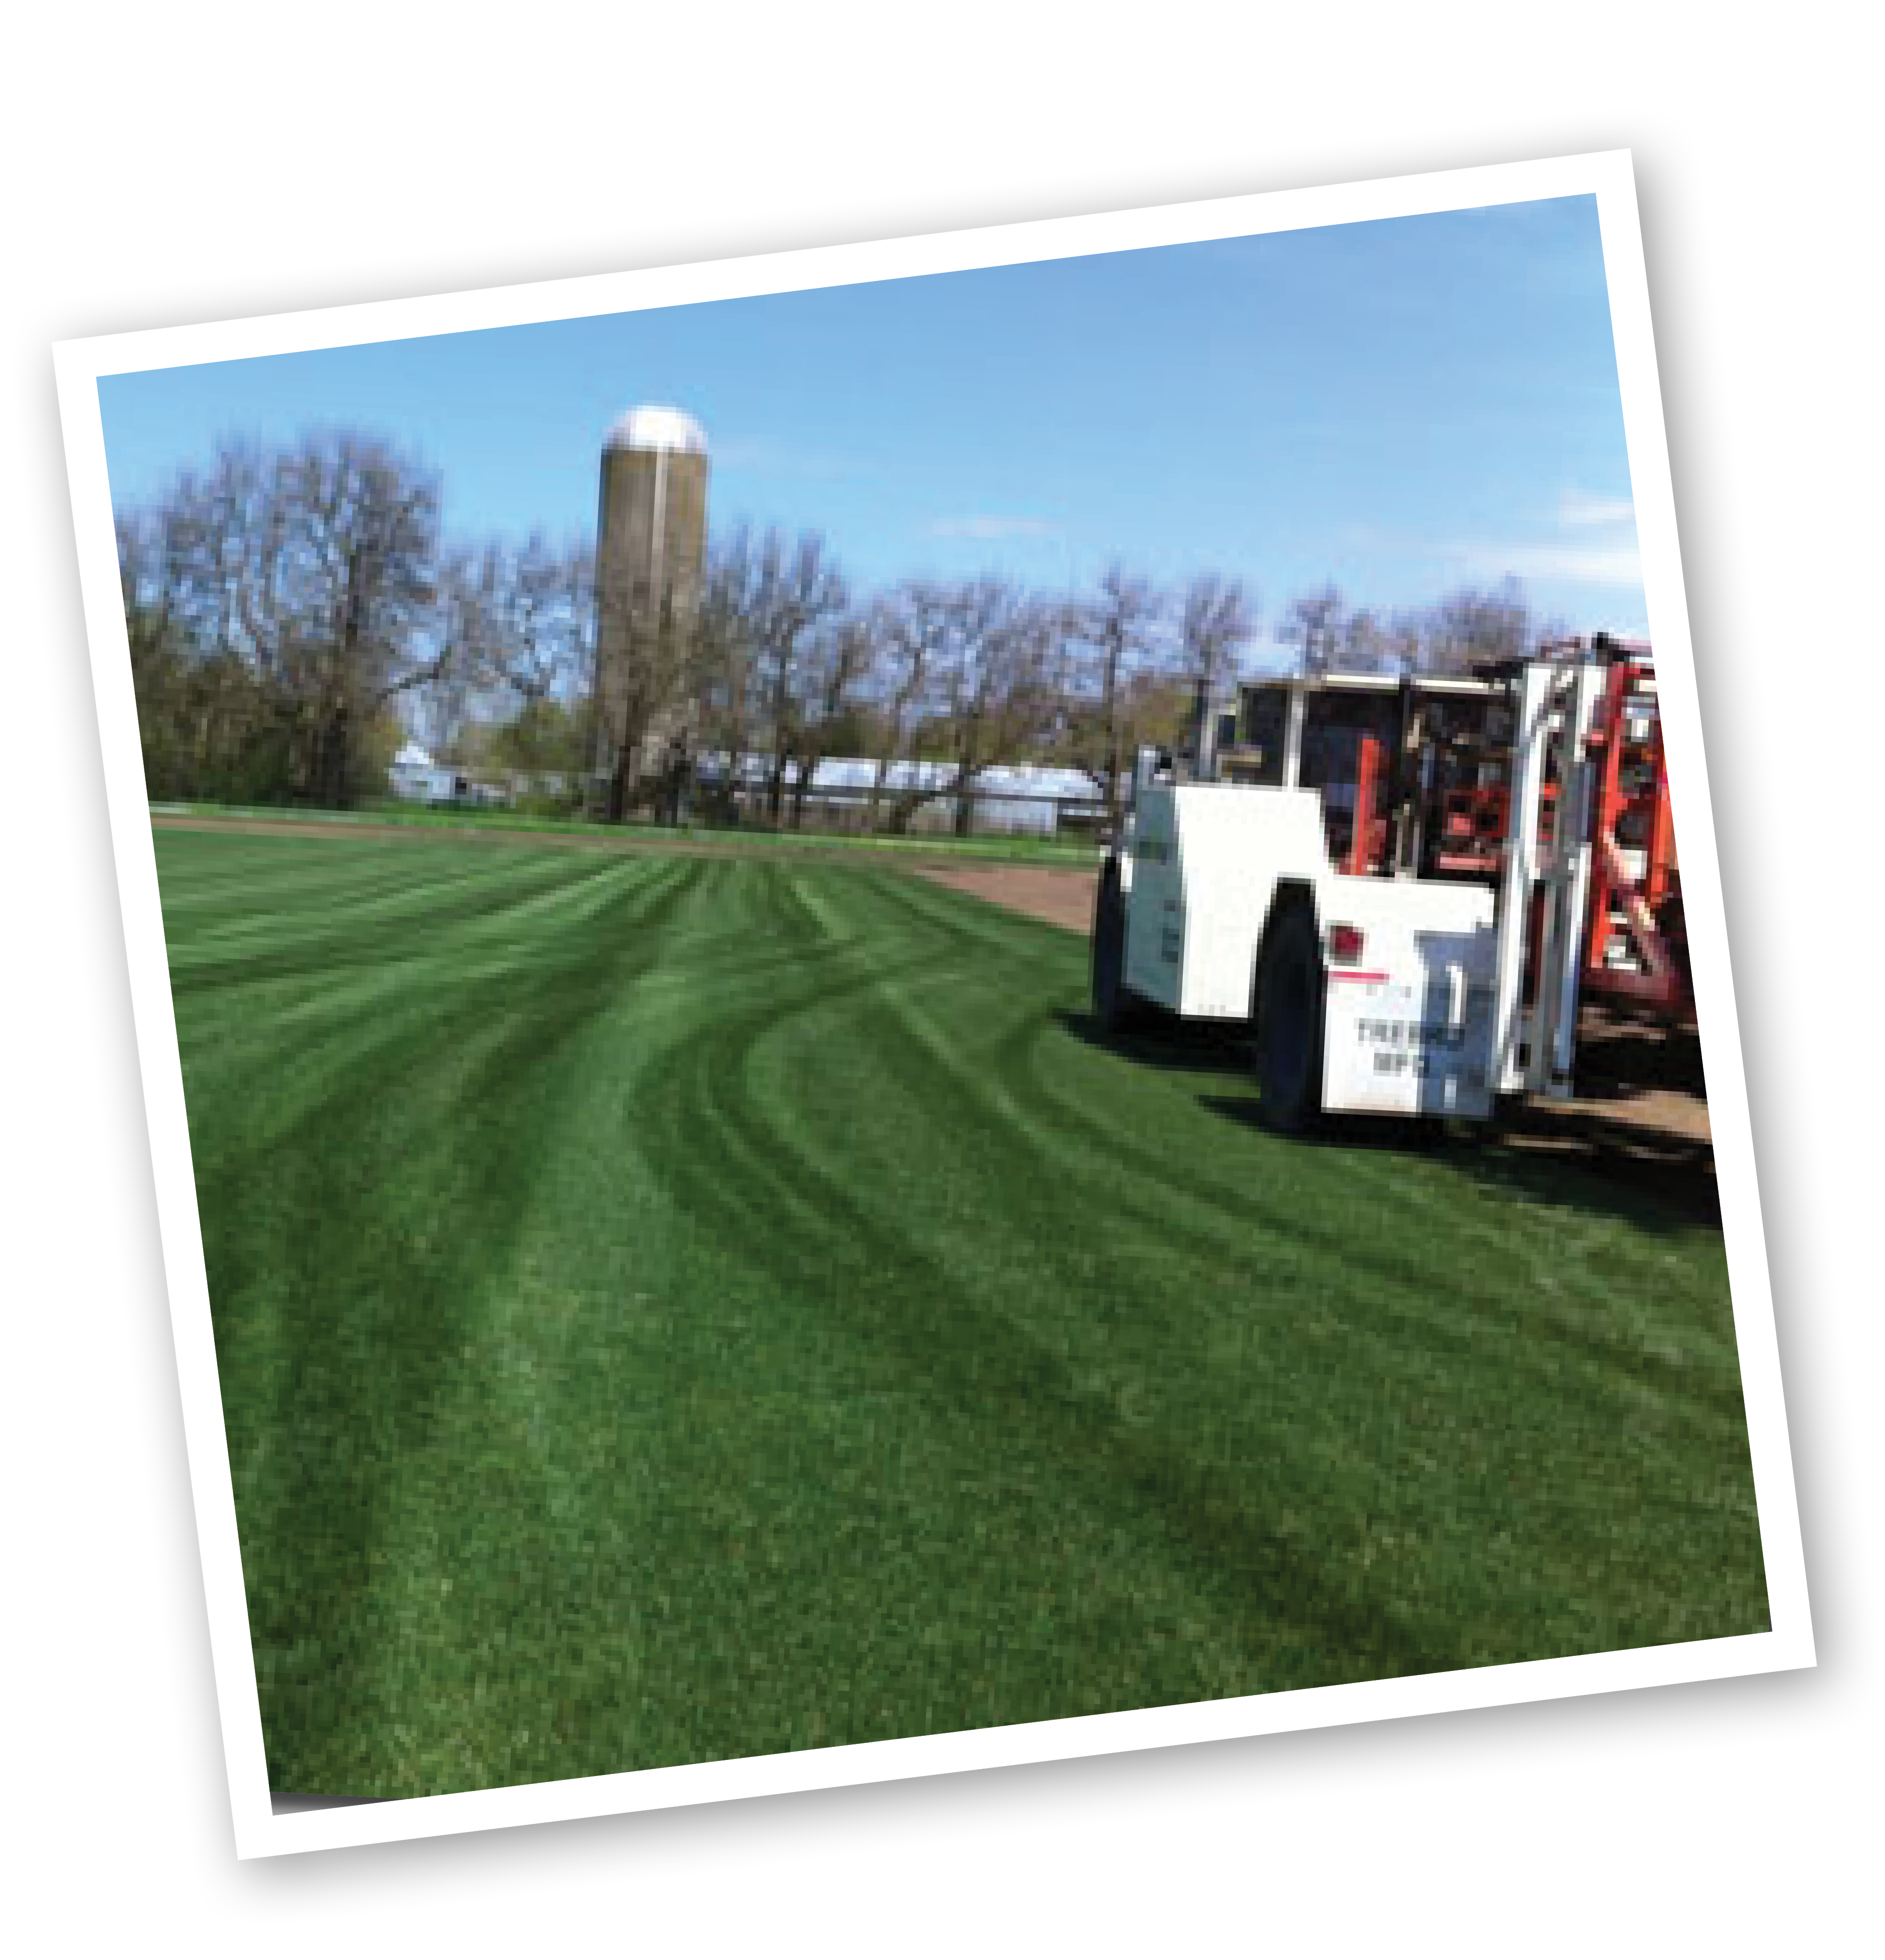
At Red Hen Turf Farm, we provide top-quality turf sod to homeowners, landscapers, athletic sites and retailers in Indiana and Michigan. Our turf grasses look great, grow well and are easy to maintain – even in the unpredictable climates of the Upper Midwest.
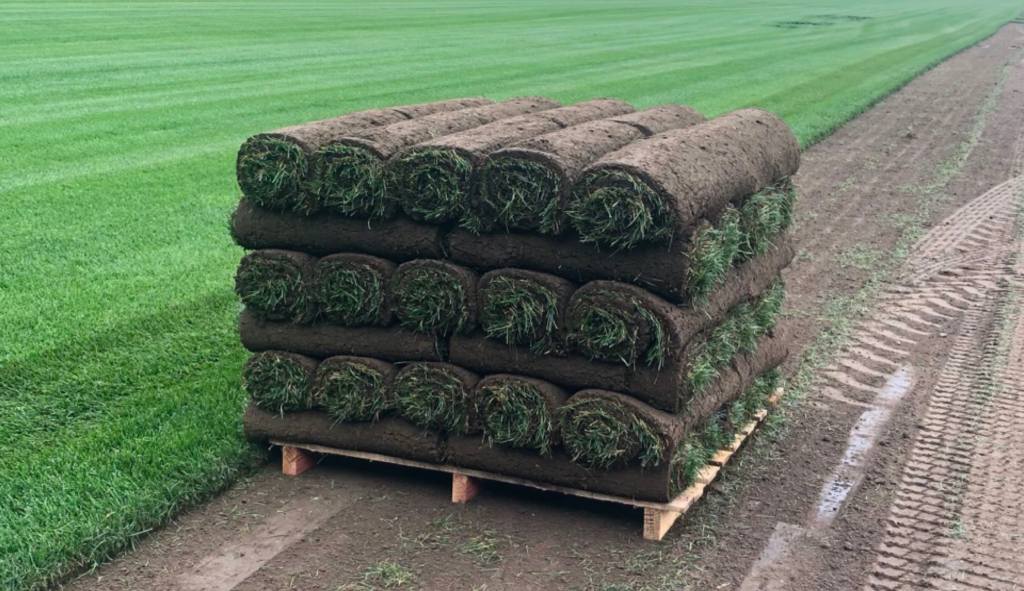
When you choose turf grass for your lawn, you can instantly turn your bare yard into green oasis. You don’t have to grow grass from seed – sod is a mature plant, ready for any kind of backyard fun. Plus, you’ll enjoy peace of mind, knowing your beautiful lawn will protect the ground from erosion and washouts. That means no more mud and dirt tracked into your home, immediately after installation of your lawn.
Choose Red Hen Turf Farm today and start enjoying your lawn tomorrow.
Covering ground naturally
Red Hen Turf
At Red Hen Turf Farm, we provide top-quality turf sod to homeowners, landscapers, athletic sites and retailers in Indiana and Michigan. Our turf grasses look great, grow well and are easy to maintain – even in the unpredictable climates of the Upper Midwest.
When you choose turf grass for your lawn, you can instantly turn your bare yard into green oasis. You don’t have to grow grass from seed – sod is a mature plant, ready for any kind of backyard fun. Plus, you’ll enjoy peace of mind, knowing your beautiful lawn will protect the ground from erosion and washouts. That means no more mud and dirt tracked into your home, immediately after installation of your lawn.
Choose Red Hen Turf Farm today and start enjoying your lawn tomorrow.
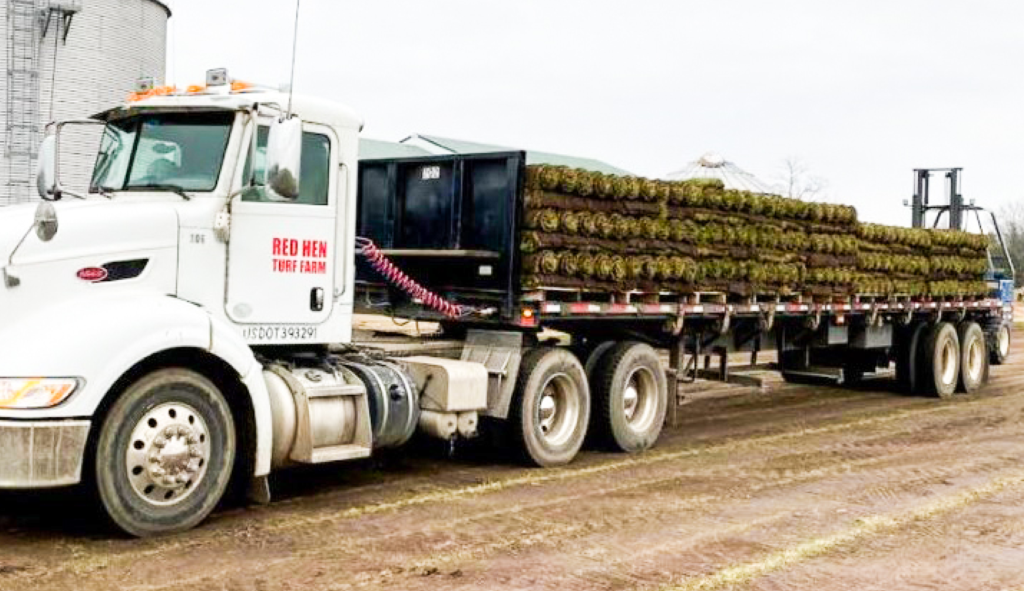
I called and they helped me understand how to lay sod. They were able to ship me my order on very short notice! I called on a Thursday and they delivered at noon on Friday. The delivery was flawless and the driver was very helpful getting the sod right where I needed it. I highly recommend!!!
Ive picked up sod here twice. Both times the staff were incredibly courteous and helpful with suggestions for how to make sure the sod would grow properly. The field help were very courteous as well
I called with measurements rep. suggested to go up in square footage to save up more. What a great suggestion! Thank you, I wish I knew the rep's name he was fantastic . We used all pallets because we were able to use the left overs for a smaller project.Also, next day delivery. John the driver brought in our kentucky Bluegrass in great shape. grass looks great!
We needed approximately 100 rolls of sod for our backyard repair. The people here were very helpful, my husband arranged to get it one pick up load at a time. We would call before leaving home and when he got there the sod was ready to be loaded. The quality of the sod is great and the price was fantastic. Would recommend them to anyone!
29435 Darden Rd•New Carlisle, IN 46552 • 1-800-359-8035