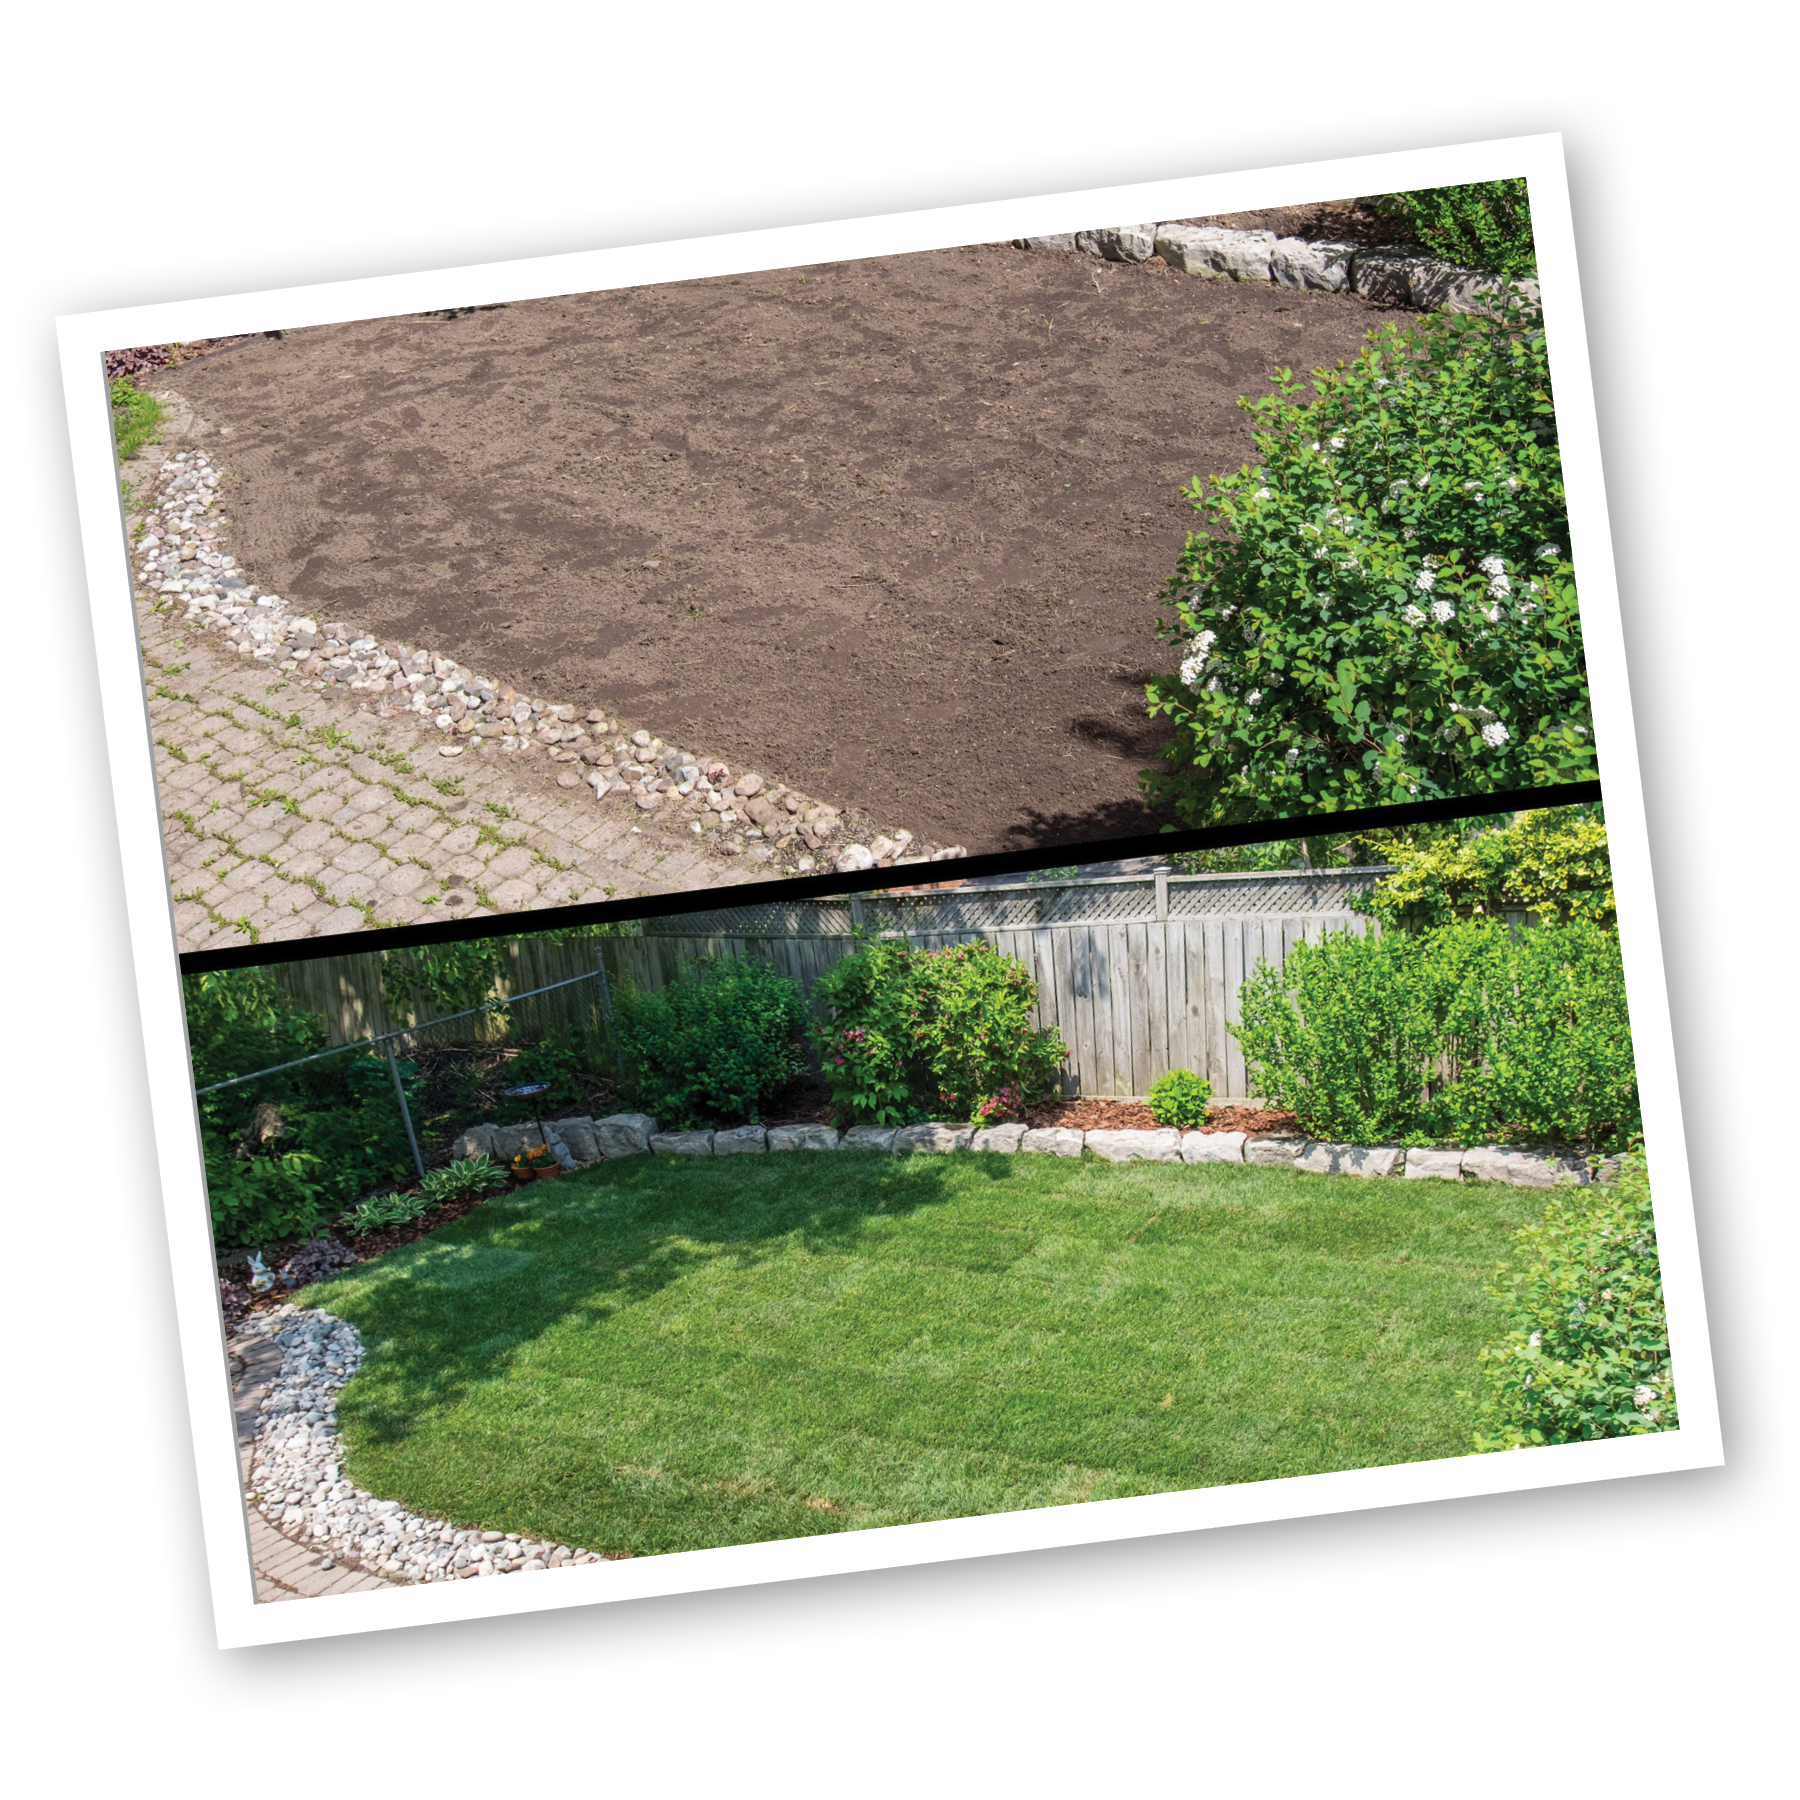
sod patch before and after

Before you grab your rake, you need to know that Kentucky bluegrass sod does not do well in medium to heavy shade areas. Why?

All grass in shade is thinner, weaker, and more easily damaged than grass in sun because no type of grass loves shade. Shade reduces the amount of sunlight available and air movement around the plants. Both of these conditions are bad for grass plants. Privacy fences, rows of evergreens, and big maple trees are good examples of bad shade problems for grass. Adding lots of traffic from kids or pets makes the problem worse. Doing what you can to get in some sunlight and air movement is the first step. Kentucky bluegrass sod should not be your first choice of grass to use in shade. You might have luck with our Turf-type Tall Fescue Sod in a less sunny area.  A good quality shady mix grass seed would be a better choice. Give us a call and let’s talk about your vision for your site and what options might be the best fit.

Sometimes, a poor soil is what caused the turf to go bad. If you determine the soil in the bad spot is exceptionally rocky or generally poor for some other reason, removing and replacing three to four inches with a better soil is usually enough. It is not necessary to add topsoil if the existing soil is about the same as the surrounding soil. Some people like to mix compost into the soil and if you do, only add about an inch.  Compost “shrinks” over time and if you add too much, you will find your lawn will become bumpy after the compost shrinks.

Sod is a living thing, and the shorter the time it stays rolled up, the better. It can last 3 or 4 days in the spring rolled up, but needs to be unrolled the same day you get it in summer. In our area, weather can often be unpredictable, and once you confirm your order and we harvest your sod, it is yours. Rain delays can stress both you and your sod. This is something else to take into account as you decide to lay sod yourself or have it done.

You need shovels and rakes to prepare the soil. Sod can be cut with a variety of tools, such as an old steak knife. Have plenty of hoses and sprinklers present if you don’t have an inground system.

There are two ways to patch an area. One way is to trim the sod to fit the spot and the other way is to enlarge the spot to fit the rolls of sod, which also makes straight lines. I think it looks better, and is easier to prepare the soil if you enlarge the spots to fit the sod.

  1. If there are a lot of old weeds, or a fair amount of old grass left, you might find it easier to rake or shovel up the biggest chunks of old turf first. If the grass is thin, then go to step 2.

  2. The soil needs to be loosened up at least three inches deep to allow the new roots to grow into the soil. This is really important if you are repairing compacted areas. What you use to do this depends on the size of the repair spot and the tools you have. Most people use a shovel or rototiller to loosen the soil.

  3. Rake, level and lightly firm the tilled area. You do not have to get rid of all the old clumps of grass. New sod will root through clumps as long as they are not bigger than a golf ball. You can bury the bigger clumps of old grass in the middle of the repair spot.

  4. If you have some fertilizer on hand, you can put some on the soil before you sod as long as it does not have a weed killer in it. Apply it at a rate of 8# per 1,000 sq. ft. of 12-12-12. If you do not have some on hand, just fertilize the new sod like the rest of your lawn the next time you fertilize. 

  5. The soil should be down about ½” along the edge of the existing turf to account for the thickness of the new sod.  You can usually spread the soil from the edges out in the middle of the repair spot.

  6. The soil should be down about 1 ½ “ along a curb or sidewalk. That way, rainwater will run off the sidewalk and on to the grass.
  1. Unroll the sod next to a straight side. For the next row, place a roll a couple of inches away from the previous roll. Unroll it and slide it up against the first roll. Do not overlap or leave gaps. Stagger the ends to avoid long seams. You can cut the sod with a variety of tools. People typically use a square point shovel, pocketknife, utility knife or an old steak knife.
  2. Do not roll the sod because rolling will compact the soil and make new root difficult.
  3. Begin watering when you can do so without making a muddy mess. Water the spot long enough to apply ½” of water. After a few hours, check the bottom of the sod to see if it is moist. If it is dry, then water some more. If you walk on it and make deep footprints, the sod is wet enough for right now.
  4. Follow our“early and long-term sod care sheet” for basic instructions on caring for your sod.  However, for more in-depth, regional and science-based instructions on any particular aspect of sod care. give us a call and we can assist. Beware of the “University of Google” which can lead you to bad advice.  

Evaluating the Site

Sod is a quick, easy way to repair most damaged spots in an existing lawn. Because sod is a mature plant, it establishes very quickly compared to seed, hydroseed or lawn patching mixes, saving you lots of time. Following are some suggestions on how to make repairing your lawn with sod easy and successful.

Patching Lawns
with Sod

sod patch before and after

Before you grab your rake, you need to know that Kentucky bluegrass sod does not do well in medium to heavy shade areas. Why?

All grass in shade is thinner, weaker, and more easily damaged than grass in sun because no type of grass loves shade. Shade reduces the amount of sunlight available and air movement around the plants. Both of these conditions are bad for grass plants. Privacy fences, rows of evergreens, and big maple trees are good examples of bad shade problems for grass. Adding lots of traffic from kids or pets makes the problem worse. Doing what you can to get in some sunlight and air movement is the first step. Kentucky bluegrass should not be your first choice of grass to use in shade. A good quality shady mix grass seed would be a better choice.

Sometimes, a poor soil is what caused the turf to go bad. If you determine the soil in the bad spot is exceptionally rocky or generally poor for some other reason, removing and replacing three to four inches with a better soil is usually enough. It is not necessary to add topsoil if the existing soil is about the same as the surrounding soil. Some people like to mix compost into the soil and if you do, only add about an inch.  Compost “shrinks” over time and if you add too much, you will find your lawn will become bumpy after the compost shrinks.

Sod is a living thing, and the shorter the time it stays rolled up, the better. It can last 3 or 4 days in the spring rolled up, but needs to be unrolled the same day you get it in summer. In our area, weather can often be unpredictable, and once you confirm your order and we harvest your sod, it is yours. Rain delays can stress both you and your sod. This is something else to take into account as you decide to lay sod yourself or have it done.

You need shovels and rakes to prepare the soil. Sod can be cut with a variety of tools, such as an old steak knife. Have plenty of hoses and sprinklers present if you don’t have an inground system.

There are two ways to patch an area. One way is to trim the sod to fit the spot and the other way is to enlarge the spot to fit the rolls of sod, which also makes straight lines. I think it looks better, and is easier to prepare the soil if you enlarge the spots to fit the sod.

  1. If there are a lot of old weeds, or a fair amount of old grass left, you might find it easier to rake or shovel up the biggest chunks of old turf first. If the grass is thin, then go to step 2.

  2. The soil needs to be loosened up at least three inches deep to allow the new roots to grow into the soil. This is really important if you are repairing compacted areas. What you use to do this depends on the size of the repair spot and the tools you have. Most people use a shovel or rototiller to loosen the soil.

  3. Rake, level and lightly firm the tilled area. You do not have to get rid of all the old clumps of grass. New sod will root through clumps as long as they are not bigger than a golf ball. You can bury the bigger clumps of old grass in the middle of the repair spot.

  4. If you have some fertilizer on hand, you can put some on the soil before you sod as long as it does not have a weed killer in it. Apply it at a rate of 8# per 1,000 sq. ft. of 12-12-12. If you do not have some on hand, just fertilize the new sod like the rest of your lawn the next time you fertilize. 

  5. The soil should be down about ½” along the edge of the existing turf to account for the thickness of the new sod.  You can usually spread the soil from the edges out in the middle of the repair spot.

  6. The soil should be down about 1 ½ “ along a curb or sidewalk. That way, rainwater will run off the sidewalk and on to the grass.
  1. Unroll the sod next to a straight side. For the next row, place a roll a couple of inches away from the previous roll. Unroll it and slide it up against the first roll. Do not overlap or leave gaps. Stagger the ends to avoid long seams. You can cut the sod with a variety of tools. People typically use a square point shovel, pocketknife, utility knife or an old steak knife.

  2. Do not roll the sod because rolling will compact the soil and make new root difficult.

  3. Begin watering when you can do so without making a muddy mess. Water the spot long enough to apply ½” of water. After a few hours, check the bottom of the sod to see if it is moist. If it is dry, then water some more. If you walk on it and make deep footprints, the sod is wet enough for right now.

  4. Follow the “early and long-term sod care sheet” supplied with your purchase to tell you how to care for your sod further.

Evaluating the Site

Sod is a quick, easy way to repair most damaged spots in an existing lawn. Because sod is a mature plant, it establishes very quickly compared to seed, hydroseed or lawn patching mixes, saving you lots of time. Following are some suggestions on how to make repairing your lawn with sod easy and successful.

Patching Lawns
with Sod

HOW WE GROW SOD

HOW TO ORDER

HOW TO MEASURE

HOW WE GROW SOD

HOW TO ORDER

HOW TO MEASURE

29435 Darden Rd        New Carlisle, IN 46552   574-232-6811

29435 Darden Rd        New Carlisle, IN
574-232-6811

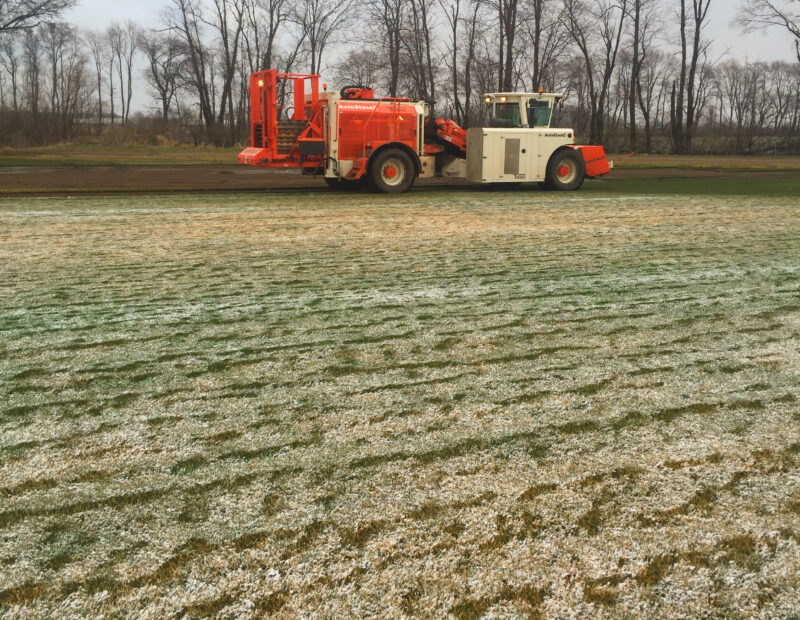
Harvesting Sod in the SNOW - Photo Credit: Ron Strean, Red Hen Turf Farm
??? Did you know ????

Red Hen Turf Farm's

Sod Harvesting Season
will NOT END
until the end of November
or even well into December
– weather-permitting –
* * *
A quick call will confirm our
DAILY SOD HARVEST FORECAST
 
– 574-232-6811 – 
is the number to call
and
Learn More >>> HERE